How to Choose Overland Tires Without Overspending
Tires are the single biggest variable in how your rig performs on trail, and they’re also one of the easiest places to waste money. It’s tempting to chase the biggest, most aggressive mud-terrain tires you can afford, but if you’re running fire roads, forest tracks, and the occasional sandy wash, those tires will wear your wallet out faster than they’ll wear out on pavement. Choosing the right overland tires on a budget is about matching what you actually drive to what you actually need and skipping the rest.
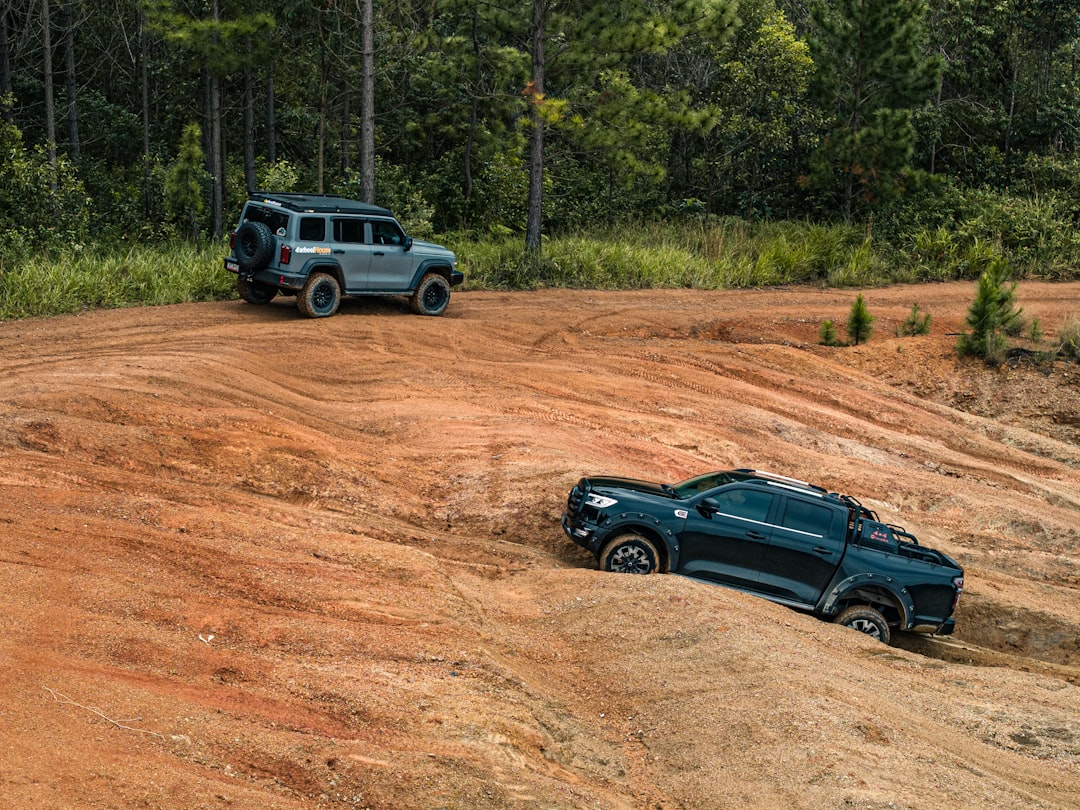
Photo by 4Wheelhouse on Unsplash
Understand the Terrain You Actually Drive
Before you spend a dollar on tires, write down the last five places you drove off-road. Not the places you plan to go someday but where you’ve actually been. For most budget overlanders, that list looks something like: gravel forest service roads, hard-packed dirt two-tracks, occasional sandy washes, and maybe one or two genuinely rocky sections per season.
This matters because tire design involves real tradeoffs. A tire built to claw through deep mud runs with a loud, chunky tread block pattern that wears fast on pavement and handles poorly in wet road conditions. If 80 percent of your driving is highway miles to the trailhead, an aggressive mud tire is actively working against you most of the time.
Break your driving down by percentage:
- Highway and paved roads: Anything above 60 percent means aggressive tread is a bad investment. You’ll pay more, wear them faster, and listen to road noise the whole drive out.
- Gravel and improved dirt: The sweet spot for all-terrain tires. These surfaces reward a balanced tread pattern.
- Rocky or rutted technical trails: Where sidewall strength and puncture resistance start to matter more than tread pattern.
- Mud, sand, or deep loose terrain: Where aggressive tread earns its cost.
In our experience building budget rigs, most overlanders who think they need mud-terrains actually drive terrain that benefits more from a quality all-terrain. Getting honest about your actual use case will save you several hundred dollars and extend your tire life significantly.
All-Terrain vs. Mud-Terrain: What Budget Overlanders Need to Know
The two main categories you’ll evaluate as a budget overlander are all-terrain (AT) and mud-terrain (MT) tires. Both can handle off-road use, but they’re built for different conditions and come with different cost profiles.
All-terrain tires feature an intermediate tread pattern with moderate voids between the blocks. They clear dirt, gravel, and light mud while maintaining reasonable road manners. On a budget build, they’re usually the right call. They’re cheaper to buy, last longer on pavement, and perform well on the 80 percent of terrain most overlanders actually see. Brands like Cooper, Falken, and Nitto offer AT options in the $150 to $200 per tire range that genuinely compete with tires costing twice as much.
Mud-terrain tires use wider, more aggressive tread blocks with deep voids designed to self-clean in soft terrain. They’re built for situations where standard tires pack up with mud and lose traction. The drawbacks for budget builders: they cost more upfront, wear significantly faster on pavement (sometimes half the life of an AT), and generate noticeable road noise at highway speed. If you’re regularly driving real mud or deep sand, MTs earn their cost. If you’re not, they’re an expensive way to look capable.
A useful reference point: Toyo’s guide to tire construction and tread categories explains what the block patterns actually do, which helps you evaluate claims from any brand.
Hybrid tires, sometimes called all-terrain plus or rugged terrain, sit between the two. Brands like Falken and BFGoodrich offer options that lean more aggressive than standard AT without the pavement penalty of a full MT. These can be a smart middle ground for builds that genuinely split time between road and trail.
How to Read a Tire Sidewall
Understanding tire sizing lets you compare across brands and avoid buying a tire that doesn’t fit your rig. Here’s what the numbers mean and which ones matter for budget decisions.
A common size like LT265/70R17 breaks down as:
- LT: Light truck designation. Important. Passenger (P-metric) tires have lower load ratings and aren’t built for the stresses of loaded overlanding rigs. If you’re adding a roof tent, drawers, recovery gear, or a full-size spare, stick with LT-rated tires.
- 265: Section width in millimeters. How wide the tire is unmounted.
- 70: Aspect ratio. The sidewall height as a percent of the section width. A 70 means a taller sidewall, which gives you more sidewall flex for airing down on soft terrain.
- R: Radial construction. Standard on modern tires.
- 17: Wheel diameter in inches. Must match your rim.
Load index and speed rating appear after the size. For overlanding use, look for a load index that accommodates your vehicle’s Gross Vehicle Weight Rating (GVWR) with gear loaded. This number is easy to overlook and important to get right.
Ply rating matters more than it gets credit for on a budget. A 10-ply tire (Load Range E) runs stiffer and is more puncture resistant than a 6-ply (Load Range C). For rocky terrain or cactus country, the higher ply rating is cheap insurance. The difference in price between a 6-ply and 10-ply version of the same tire is often $20 to $30 per tire.
What to ignore: Fancy names, marketing language about “proprietary compounds,” and inflated treadwear ratings from brands with no independent testing data. Focus on LT designation, load range, and verified user reviews from off-road forums.
Budget Tire Tiers: What to Expect at Each Price Point
The tire market has real differences at each price band. Here’s what your money gets you.
| Price per Tire | What to Expect | Example Options |
|---|---|---|
| Under $100 | Import brands, limited sizing, low treadwear ratings, minimal off-road data | Maxtrek, Groundspeed (approach with caution) |
| $100-$150 | Functional AT tires from second-tier brands, decent for light off-road | Falken Wildpeak AT3W (smaller sizes), Nankang AT-5 |
| $150-$200 | Strong mid-tier AT and entry MT options, established brands, verified trail performance | Cooper Discoverer AT3, Toyo Open Country AT3, Falken Wildpeak AT4W |
| $200-$280 | Upper mid-tier, longer tread life, better sidewall protection, premium AT and MT | BFGoodrich All-Terrain T/A KO2, Nitto Ridge Grappler |
| Over $280 | Premium MT tiers, race-pedigree brands | Mickey Thompson Baja Boss, Toyo Open Country MT |
For most budget overlanders, the $150 to $200 range delivers the best value. Tires in this band come from established manufacturers with real-world testing data, carry LT ratings in useful sizes, and have documented performance from overlanding communities online.
The Forceum M/T 08 Plus is an example of a budget MT that lands under this ceiling in many sizes: https://www.amazon.com/dp/B07KZWTJVB?tag=budgetoverlander-20. It’s not a premium tire, but for overlanders who need some mud performance without paying Cooper or BFG prices, it’s worth considering.
We’ve tested both the sub-$100 import tier and the $150 to $200 mid-tier, and the difference in sidewall durability alone justifies the step up. Import tires in that lower range tend to show sidewall damage that mid-tier tires shrug off on the same terrain.
Common Mistakes When Buying Overlanding Tires on a Budget
Going too aggressive for your actual terrain. Addressed above, but worth repeating as a specific mistake: buying a full mud-terrain because it looks capable and then running 15,000 highway miles per year on it. You’ll replace it in 18 months instead of 4 years.
Ignoring load rating for your build. Adding a roof tent, water system, drawer setup, and recovery gear adds real weight. A tire that’s rated for your stock GVWR may be under-rated for your loaded overlanding rig. Check your tire’s load index against your actual loaded vehicle weight, not just the factory spec.
Buying used off-road tires. Used tires are tempting on a budget build, but with tires that see rock and trail use you can’t evaluate internal damage from visual inspection. Sidewall separations and internal belt damage from impacts don’t always show on the outside. This is one area where buying new (even lower-tier new) is better than saving money on used.
Overlooking tire repair gear. A $200 tire sitting flat on a trail is worth nothing without the tools to get it rolling again. A quality plug kit like the Boulder Tools Compact Tire Repair Kit and a bead sealant like TireJect Off-Road Tire Sealant should be part of every tire purchase decision. Budget the $30 to $50 for trail repair tools into your tire cost.
Not checking sizing compatibility before ordering. Fitting a tire that’s significantly larger than stock affects speedometer accuracy, fuel economy, handling, and potentially your brakes and drivetrain. Running a size more than 10 to 15 percent larger than stock without recalibration creates real problems. Verify fitment with your specific vehicle trim before ordering.
Skipping the break-in. New tires have release compound on the tread surface from manufacturing. Don’t take them straight to technical terrain. Run 500 to 800 highway miles to scrub them in and seat the beads before pushing them on trail.
Safety note: Tire mounting and removal involves high-pressure air and heavy equipment. Improper mounting can cause bead failure, which is dangerous. Have new tires mounted by a qualified tire shop. Do not attempt to seat a bead with a ratchet strap or improvised methods.
Protecting Your Tire Investment on Trail
Choosing the right tire is step one. Making it last is step two.
Airing down is one of the most effective free modifications for off-road performance and tire protection. Dropping from 35 PSI to 18 to 22 PSI on soft terrain significantly increases the contact patch, reduces ride harshness, and improves traction. Carry a reliable air compressor to air back up before returning to pavement.
Tire pressure gauges: The analog gauges that come free with repair kits are usually accurate enough. What matters is checking pressure cold at the start of every trail day. Pressure changes 1 PSI roughly for every 10 degrees Fahrenheit of ambient temperature change, which matters when you camp at altitude and drive in heat.
Rotation schedule: Off-road tires wear unevenly due to the varied stresses of trail use. Rotate every 5,000 to 7,000 miles to extend life. On a full-size spare setup, include the spare in your rotation for maximum value.
Bead sealant: Adding a tubeless sealant at the time of mounting is cheap insurance. It seals small punctures automatically on trail before you even notice them. The TireJect kit handles this without removing the tire from the rim.
Sidewall protection: If you’re running rocky terrain regularly, a tire with a thicker sidewall is the upgrade that pays off. Many budget AT tires sacrifice sidewall thickness to hit a price point. Check sidewall ply rating before buying and pay the premium for 10-ply if you’re in rock country.
FAQ
What’s the cheapest overland tire that’s actually worth buying?
In the current market, the Cooper Discoverer AT3 XLT and Falken Wildpeak AT4W consistently show up in off-road community discussions as the best value in the $150 to $180 range. Both carry LT ratings, have solid sidewall construction, and have documented trail use. Avoid anything priced under $100 per tire for serious off-road applications. The rubber compound quality and internal construction at that price point create real reliability issues on technical terrain.
Do I need to upgrade tires if I’m only doing light overlanding?
If your vehicle came on all-season or highway tires and you’re staying on graded forest roads and improved dirt, you may not need new tires immediately. The real trigger points for an upgrade are: noticing traction loss in wet or loose conditions, planning to air down regularly, adding significant weight to your build, or starting to run more technical terrain. New all-terrain tires are a worthwhile upgrade, but you don’t have to rush the purchase if your current tires are in good condition and your terrain is forgiving.
How much bigger can I go without a lift?
The safe rule of thumb for most trucks and SUVs is one to two sizes up from stock without rubbing or clearance issues. That typically means adding 0.5 to 1 inch of section width and one step up in aspect ratio. More than that and you’re likely rubbing on articulation, affecting your spare tire fitment, and potentially stressing your CV joints and wheel bearings. If you want to go significantly larger, budget for a leveling kit or small lift as part of the overall project rather than trying to fit oversized tires on a stock suspension.
Is a budget tire from an overseas brand worth it?
For some applications, yes. For overlanding, generally no. Import-brand tires vary significantly in consistency between production runs, and their published treadwear and load ratings are often not independently verified. The risk isn’t just performance, it’s reliability in remote situations. A sidewall failure 40 miles from the trailhead on an import tire versus a Cooper or Toyo is a meaningful difference in risk. The price gap between budget imports and proven mid-tier tires has narrowed enough that it’s hard to justify the trade-off.
What size should I start with on a budget build?
For most half-ton trucks and mid-size SUVs on a first build, 265/70R17 or 265/75R16 (depending on your wheel size) is a practical starting point. These sizes are widely available, competitively priced, and leave you room to upsize later. They also don’t require suspension modification on most stock vehicles. Check your specific vehicle’s fitment guide before ordering.
Conclusion
The best overland tire for a budget build is the one that matches your actual terrain, fits your vehicle without modification, carries a proper LT load rating, and leaves money in the budget for the rest of your build. Resist the temptation to overbuy on tire aggression. An honest assessment of where you drive most of the time will point you toward an all-terrain in the $150 to $200 range that outperforms a more expensive mud-terrain on the terrain you actually use.
Before your next tire purchase, write out your terrain breakdown, verify load rating against your loaded vehicle weight, and budget for trail repair tools at the same time.
Related reading: Best Value Off-Road Jack Options Compared
Bookmark this guide for your next tire shopping session, or drop a question in the comments below about your specific vehicle and terrain.