Trail route planning: apps, maps, and trip research
The most dangerous thing you can take into the backcountry is a sense of false security provided by a full set of signal bars. Many new overlanders assume that because their smartphone works in the suburbs, it will guide them through a National Forest. This mistake leads to more than just missed turns. It leads to expensive recoveries, stranded vehicles, and genuine danger. You must approach trail route planning as a multi-layered discipline that combines modern digital tools with the unshakeable reliability of physical maps. If you rely on a single source of information, you are one dead battery or one dropped signal away from a crisis.
Planning a route is about more than just finding a line on a screen. It is about understanding the terrain, identifying potential “points of no return,” and ensuring your vehicle is actually capable of the path you have chosen. You do not need a thousand dollar dedicated navigation system to do this correctly. You need a process that utilizes affordable software and durable hardware to keep you on the right path without breaking your build budget.
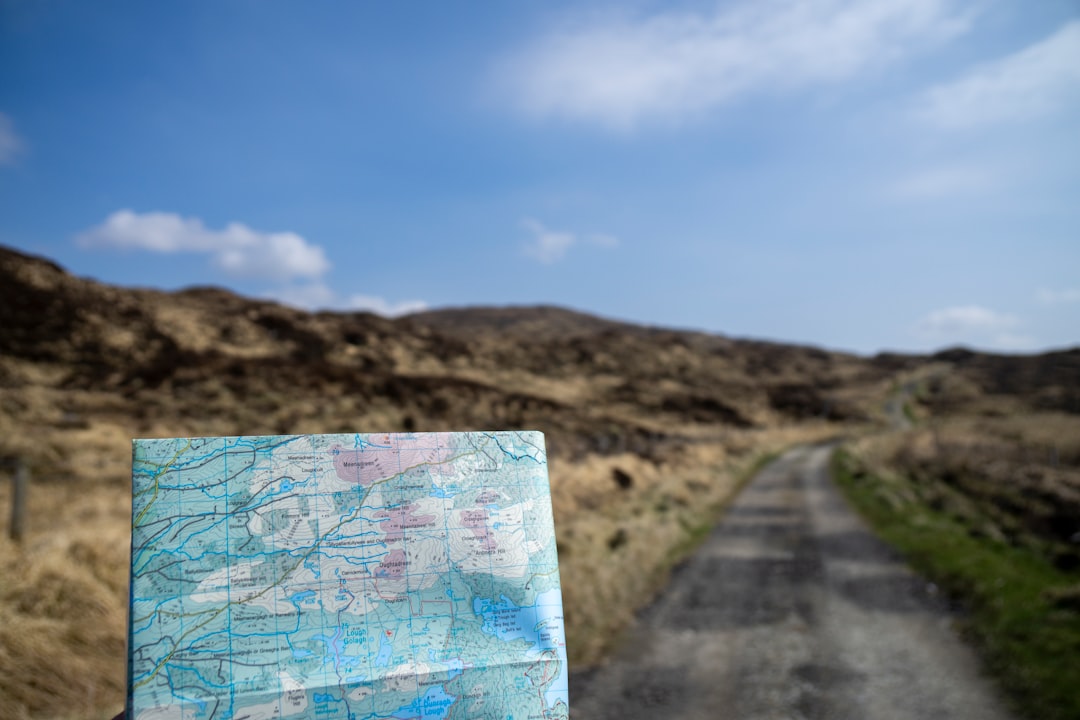
Photo by Hendrik Morkel on Unsplash
The Digital Foundation: Selecting Your Primary Navigation App
Your smartphone is the most powerful tool in your kit if you use it correctly. For overlanding, you must move away from Google Maps or Apple Maps immediately. These apps are designed for paved roads and active data connections. They do not show topographic lines, public land boundaries, or forest service road numbers with any reliability. Instead, you should invest your time in learning Gaia GPS or OnX Offroad. These are the industry standards for a reason.
Gaia GPS is the choice for those who want deep technical data. It allows you to layer different maps, such as US Forest Service (USFS) maps over satellite imagery. This layering is crucial for understanding whether a “road” is a maintained gravel path or a washed-out goat trail. OnX Offroad is often more user-friendly for beginners because it clearly marks private versus public land. Knowing where you are allowed to camp is half the battle when route planning. Most of these apps offer a free version, but for overlanding, the paid tiers (usually around $30 to $60 per year) are mandatory. The paid versions allow you to download maps for offline use. Without offline maps, your phone is a paperweight the moment you lose cell service.
When you are using these apps, the key is to download maps in high resolution for the entire area you plan to visit, plus a twenty mile buffer in every direction. Trails are often closed due to washouts or fallen trees. If you only download a thin corridor along your intended path, you will be flying blind the moment you have to take a detour. We recommend downloading the “Topo” and “Satellite” layers for any area you intend to explore. The Topo layer helps you understand elevation changes, while the Satellite layer helps you identify clearings for potential campsites or the width of the trail.
Hardware Essentials: Mounting and Dedicated GPS Units
Once you have your software sorted, you need a way to view it that does not involve holding your phone in your hand while bouncing over rocks. This is both a safety issue and a practical one. You need a mounting solution that can handle the vibration of washboard roads without dropping your device into the footwell. We have found that the RAM Phone Mount (usually around $50) is the gold standard for budget builds. It uses a ball-and-socket system that allows for infinite adjustment and, more importantly, it stays put. Cheap plastic mounts from big-box stores will snap the first time you hit a real bump.
However, even the best phone setup has a weakness: heat and battery life. Running a GPS app with the screen at full brightness while the sun beats down through the windshield will cause most smartphones to overheat and shut down. This is why a dedicated handheld unit is a smart secondary investment. The Garmin GPSMAP 64sx Handheld GPS (around $300) is a rugged, button-operated device that does not rely on a touch screen. This is critical if you are wearing gloves or if your hands are wet. It also runs on AA batteries, meaning you can carry a pack of spares and never worry about charging ports.
Safety Warning: Trail navigation is a matter of life and death in remote environments. Electronic devices can fail due to heat, software glitches, or physical damage. Always inform a contact at home of your planned route and expected return time. Before heading out, ensure your vehicle is prepared for the terrain by checking your tires and ensuring your 2026 04 12 Budget Overland Air Compressor Guide is packed so you can air back up for the highway.
Dedicated GPS units like the Garmin are built for the outdoors. They have high-sensitivity receivers that can find a signal under a dense forest canopy where your phone might struggle. While the screen is smaller and the interface is less “slick” than an iPhone, the reliability is unmatched. Use your phone as your primary “big screen” navigator for ease of use, but keep the Garmin powered on and tracking your path in the background. If your phone dies, you have a breadcrumb trail to lead you back out.
The Lost Art of Paper Maps and Trip Research
In an age of satellites and lithium batteries, many people scoff at paper maps. This is a mistake. A paper map never runs out of batteries, never overheats, and provides a wide-angle view of the landscape that a four-inch screen cannot match. When you are sitting around the campfire or a kitchen table planning your next move, nothing beats spreading out a large-scale map.
The DeLorme Atlas & Gazetteer (around $25 per state) is the definitive resource for this. These atlases provide detailed topographic maps of entire states, including backroads, hidden lakes, and public land boundaries. They are rugged enough to be shoved under a seat and used as a reference for years. We recommend buying the Gazetteer for your home state and any state you frequently visit. It is the cheapest insurance policy you can buy for your vehicle.
Beyond the map itself, trip research involves looking at “Motor Vehicle Use Maps” (MVUM). These are produced by the US Forest Service and are the final word on which trails are legal for motorized travel. Just because a trail appears on a GPS app does not mean it is legal to drive. Fines for driving on closed trails are steep and give the overlanding community a bad name. You can find these maps for free on the US Forest Service Interactive Visitor Map website. Cross-referencing your digital route with the official MVUM is a critical step in the research phase. It ensures you are staying on legal ground and helps you avoid dead ends that lead to private property gates.
Scouting from the Couch: Using Satellite Imagery
Modern route planning allows you to “pre-run” much of your trip from your living room. This is where you identify the “crux” of your route - the sections that might be too difficult for your vehicle or too narrow for your comfort level. Google Earth is a free and powerful tool for this. By using the 3D view, you can get a sense of the grade and the height of mountain passes.
When looking at satellite imagery, pay close attention to the color and texture of the trail. A bright white or tan line usually indicates a well-maintained gravel road. A dark, thin, or broken line often suggests a trail that has been reclaimed by nature or is heavily rutted. Look for “turn-around points.” If you see a narrow shelf road that goes for five miles without a single wide spot, you need to be very confident in your vehicle and your ability to reverse in tight spots before committing to it.
Another pro tip is to look for “dispersed camping” signs in the imagery. You are looking for small brown patches or clearings off the side of the main trail that have fire rings (visible as small dark circles) or flattened grass. Identifying three or four potential campsites along your route before you leave home removes the stress of “sunlight panic”—that feeling when the sun is setting and you still have nowhere to park for the night. By having coordinates for multiple spots, you can keep moving if the first one is occupied or doesn’t meet your needs.
Building the Route: Connecting the Dots
Once you have done your research, it is time to build a “GPX” file. This is a standard file format that contains your waypoints and tracks. You can build these in Gaia GPS, OnX, or even Google My Maps. The goal is to create a continuous line that connects your starting point to your destination, with markers for fuel, water, and camp.
Start by marking your “hard points.” These are the places you must stop, such as the last gas station before the trail or a specific scenic overlook. Then, connect them using the trails you identified during your research. Do not just trust the “auto-route” feature in these apps. Auto-routing often tries to take you the fastest way, which might include a highway you are trying to avoid. Manually “draw” your route trail by trail to ensure you are staying on the paths you actually want to drive.
When building your route, pay attention to mileage versus time. On a highway, 100 miles takes less than two hours. On a technical trail, 100 miles could take two days. A good rule of thumb for budget overlanders in stock or mildly modified rigs is to plan for an average speed of 10 to 15 miles per hour on dirt roads. If the trail is technical, that drops to 5 miles per hour. Overestimating how much ground you can cover is the fastest way to end up driving a dangerous trail in the dark. Plan for shorter days and more time spent enjoying the scenery.
Navigation System Comparison
| Feature | Smartphone App (Gaia/OnX) | Handheld GPS (Garmin) | Paper Atlas (DeLorme) |
|---|---|---|---|
| Cost | $30-$60/year | ~$300 (One-time) | ~$25 (One-time) |
| Ease of Use | High (Touchscreen) | Moderate (Buttons) | High (Manual) |
| Screen Size | Large/Vibrant | Small/Functional | Full Page |
| Durability | Low (Needs case/mount) | Very High (Rugged) | High (Waterproof-ish) |
| Battery Life | 4-8 hours (Active) | 16-20 hours (AA) | Infinite |
| Offline Reliability | Requires pre-downloading | Built-in maps | Always ready |
| Best For | Primary navigation | Backup/Technical tracking | Macro-planning/Emergency |
Common Mistakes and Troubleshooting
The most common mistake overlanders make is failing to test their offline maps before they leave the driveway. It is incredibly important to toggle your phone into “Airplane Mode” while still at home to verify that your downloaded map layers actually load without a data connection.
Frequently Asked Questions
What is the best offline navigation app for beginners? OnX Offroad is generally considered the most user-friendly for beginners due to its clear interface and easy-to-read public/private land boundaries.
Can I use Google Maps for off-roading? Google Maps is not recommended for off-roading as it lacks topographic detail, forest service road numbers, and reliable offline capabilities for remote areas.
Why do I need a paper map if I have GPS? Paper maps don’t require batteries, won’t overheat in the sun, and provide a larger perspective of the terrain that helps with long-range planning and emergency navigation.
What is an MVUM? A Motor Vehicle Use Map (MVUM) is an official map produced by the US Forest Service that identifies which roads and trails are legal for motorized vehicle use.
Enjoyed this guide? Bookmark it for later or share it with a friend who might find it useful.