Vehicle maintenance on the trail: tools and spares to carry
The silence of the wilderness is beautiful until it is the silence of a dead engine fifty miles from the nearest paved road. If you spend enough time overlanding, you will eventually face a mechanical failure. It is not a matter of if, but when. Most people approach vehicle maintenance on the trail with either total ignorance or an over-preparedness that adds five hundred pounds of dead weight to their rig. You do not need to carry a mobile machine shop, but you do need a curated selection of high-utility tools and specific spares that address the most likely points of failure. Being prepared is the difference between a funny story told over a campfire and an expensive, dangerous recovery operation that costs thousands of dollars. In our experience, the right approach makes all the difference.
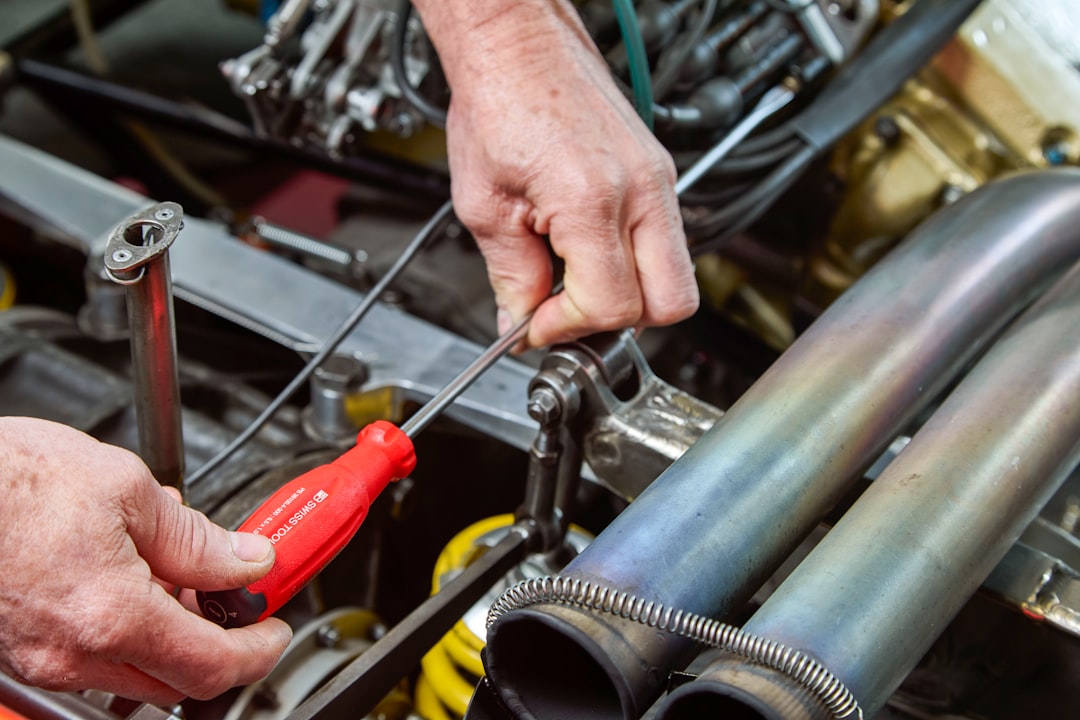
Photo by PB Swiss Tools on Unsplash
Essential Tools and Spares for Trail Maintenance
The foundation of any trail repair capability is a solid mechanic set. For the budget-conscious overlander, you want to avoid the $10 bargain bin sets that shatter the first time you apply real torque to a rusted bolt. You also do not need the $2,000 professional chests. I recommend the TEKTON Mechanic Tool Set because it hits the sweet spot of durability and price, usually coming in under $200 for a comprehensive kit. The most important feature of this set is the 6-point socket design. On the trail, you are often dealing with mud, grit, and corrosion. A 12-point socket is far more likely to round off a fastener, leaving you in a much worse position than when you started.
Your kit must be organized. A loose pile of wrenches in a bag is a recipe for frustration when you are working in the dirt under a fading sun. Use a tool roll or a dedicated hard case where every socket has a home. This allows you to see instantly if a tool is missing before you leave your campsite. Beyond the basic sockets, you need a 1/2 inch drive breaker bar. Many suspension components and lug nuts are torqued to values that a standard 3/8 inch ratchet simply cannot handle without stripping the internal gearing.
If you drive a Japanese vehicle like a Toyota or Nissan, focus your kit on 10mm, 12mm, 14mm, 17mm, and 19mm sizes. If you are in a Jeep or an older domestic truck, you will need a mix of SAE and Metric, plus a healthy selection of Torx bits. Jeep manufacturers love Torx bolts, and trying to remove one with a hex key or a flathead screwdriver is a guaranteed way to ruin your afternoon. Always carry a pair of high-quality needle-nose pliers, heavy-duty diagonal cutters, and a set of locking pliers (Vise-Grips). These are the “universal” tools that solve the problems your sockets cannot touch, such as bent heat shields or stripped cotter pins.
Carrying every possible spare part is impossible and counterproductive. Instead, you should carry the “Big Three”: items that stop the vehicle, items that keep the engine cool, and items that provide power. Start with a spare serpentine belt. If your belt snaps, you lose your alternator, your water pump, and your power steering. You are not going anywhere. When you replace your belt as part of your routine home maintenance, do not throw the old one away. If it is still in one piece, wrap it in a plastic bag and zip-tie it somewhere safe in your vehicle. It is a free spare that you know fits.
Hoses are the next priority. A burst radiator hose will cook your engine in minutes. While carrying a full set of pre-formed hoses for your specific engine is ideal, it can be bulky. At a minimum, carry a roll of self-fusing silicone tape (often called “Rescue Tape”). This stuff is rated for high heat and pressure and can temporarily patch a leaking hose well enough to get you back to civilization. Combine this with a few universal hose clamps of varying sizes.
Finally, consider your vehicle’s specific “Achilles heel.” For many independent front suspension (IFS) rigs, this is the CV axle. If you are wheeling hard in a Tacoma or 4Runner, carrying one spare front CV axle is cheap insurance, often costing under $100 for a remanufactured unit. It is heavy, but if you snap an axle on a steep climb, having the part on hand turns a disaster into a two-hour repair. You can find technical specifications for torque values on professional resources like ASE to ensure your trail repairs meet safety standards.
Tire Repair Strategies That Save Your Trip
Tire damage is the most frequent issue you will encounter. Sharp rocks, stray nails, or even a jagged branch can end your day. While you should always carry a full-size spare tire, you should also be prepared to fix the tire currently on the rim. The ARB Speedy Seal Tire Repair Kit is the gold standard here. For around $50, you get a kit that is far superior to the cheap plastic ones found at gas stations. It includes heavy-duty insertion tools that won’t bend when you are trying to shove a plug into a thick, load-range E tire carcass.
Plugging a tire is often faster and safer than trying to change a wheel on an unstable, off-camber trail. If you have a puncture in the tread, you can often pull the nail, ream the hole, and insert a plug without even removing the wheel from the vehicle. This keeps you out from under a jacked-up rig, which is always a safety win. However, remember that plugs are for the tread only. If you have a sidewall tear, the tire is structurally compromised and must be replaced with your spare immediately.
To make these repairs work, you must have a way to reinflate the tire. Relying on a tiny emergency pump meant for a sedan will result in a burned-out motor before you hit 20 PSI. You need a dedicated high-volume compressor. For more on this, check out our Budget Overland Air Compressor Guide. Having the ability to air down for traction and air back up for the highway is the single best way to prevent tire damage in the first place, as a lower-pressure tire can wrap around sharp objects rather than being punctured by them.
Electrical Systems and Jump Starting Essentials
Modern overlanding rigs are rolling computers. Between fridges, lights, and GPS units, we put a massive strain on our electrical systems. A dead battery in the middle of nowhere is a terrifying prospect, especially if you are traveling solo. Traditional jumper cables are only useful if there is another vehicle around to help. This is why a portable lithium-ion jump starter is non-negotiable. The NOCO Boost Plus Jump Starter is a compact, powerful unit that can start a dead V8 engine multiple times on a single charge. It usually costs around $100, which is a small price to pay for total independence.
SAFETY WARNING: When working with vehicle batteries or electrical systems, always wear eye protection. Lead-acid batteries can vent flammable hydrogen gas. If you are jump-starting a vehicle, ensure the connections are secure to avoid sparks. If you smell rotten eggs (sulfur), your battery may be off-gassing and is at risk of exploding; stop immediately and let it cool. Additionally, if you are performing repairs inside the vehicle while running the engine for heat or testing, ensure you have a functioning CO detector if you are in an enclosed space or under a heavy tarp. If an electrical fire starts, do not use water; use a dry chemical fire extinguisher.
Beyond the jump starter, your electrical kit should include a variety of spare fuses. Most modern trucks use “mini” or “micro” blade fuses. If you blow a fuse for your fuel pump or ignition system, your truck is a lawn ornament until you replace that five-cent piece of plastic. Carry a small multimeter as well. Even a cheap $20 unit can tell you if a wire is broken or if your alternator is actually charging the battery. This prevents you from guessing and replacing parts that aren’t actually broken.
Managing Fluids and Field Leak Repairs
Fluid loss is the silent killer of engines and drivetrains. You should carry at least one quart of every major fluid your vehicle uses: engine oil, gear oil (for differentials), transmission fluid, and coolant. If you crack a differential cover on a rock, you can’t just patch the hole; you need to replace the fluid you lost. Storing these fluids can be messy, so I recommend vacuum-sealing the bottles or placing them in a dedicated heavy-duty plastic bin to prevent leaks from ruining your interior.
For the actual repair of leaks, you need two things: JB Weld (specifically the “SteelStik” putty) and a tube of RTV silicone. If you punch a small hole in an oil pan or a fuel tank, the SteelStik can be kneaded and pressed into the hole, even if it is slightly oily. It hardens like steel in minutes and can get you back to the trailhead. RTV silicone is essential if you have to pull a component apart, like a differential cover or a thermostat housing, and need to create a new gasket on the fly.
Don’t forget the importance of cleaning the surface before applying these adhesives. A small can of brake cleaner or a few alcohol pads take up almost no space but ensure that your patch actually sticks to the metal. If you are worried about your undercarriage, you should look into Budget Axle Differential Protection to prevent these leaks from happening in the first place. Prevention is always cheaper and easier than a field repair involving epoxy and prayers.
Trailside Repair Priority and Common Mistakes
When a failure occurs, you need a framework to decide how to proceed. Not every break requires an immediate stop, but some require you to kill the engine instantly. Use the following matrix to evaluate your situation before you start turning wrenches.
| Symptom | Severity | Immediate Action | Potential Fix |
|---|---|---|---|
| Red Dashboard Light (Oil/Temp) | Critical | Shut off engine immediately. | Check fluids, look for major leaks or broken belts. |
| Grinding noise from wheel | High | Stop and inspect. Check for stuck rocks or failing bearings. | Remove rock or tighten hub assembly. |
| Soft brake pedal | Critical | Stop using gears to slow down. Check fluid level. | Tighten leaking line or bypass a ruptured caliper. |
| Steering pull/vibration | Medium | Slow down and inspect tie rods and ball joints. | Tighten loose hardware or adjust toe-in manually. |
| Battery light on | Medium | Turn off all non-essential electronics (fridge, lights). | Check alternator belt and battery terminals. |
This framework is about risk management. If you have a slow coolant leak, you might be able to limp home by topping it off every ten miles. If you have a “knocking” sound from the engine, every second the engine runs is doing more damage. Always prioritize safety over the desire to finish the trail. If a repair seems beyond your skill level or the tools you have on hand, it is time to use your communication gear to call for a professional recovery.
The most common mistake I see is people carrying tools they have never used. If you buy a brand-new tool kit for your trip, take it out of the box at home and try to perform a basic task, like changing your oil or rotating your tires. You might discover that the kit is missing a specific size you need, or that the extensions aren’t long enough to reach your spark plugs. The trail is the worst place to find out your tools are inadequate.
Another frequent error is ignoring the weight of your spares. It is tempting to carry a spare alternator, starter, and water pump, but that weight adds up. Every extra pound makes your vehicle work harder, which actually increases the likelihood of a mechanical failure. Focus on “multi-use” spares. A length of fuel hose can be used to bypass a heater core or a transmission cooler in an emergency. Zip ties and baling wire can hold up an exhaust pipe or a loose fender. These items weigh almost nothing but solve dozens of problems.
Lastly, do not neglect the “pre-trip” inspection. Most trail failures are actually pre-existing issues that the stress of off-roading finally pushed over the edge. Check your belt tension, look for weeping shocks, and shake your steering components to check for play while you are still in your driveway. A thirty-minute inspection at home can save you eight hours of labor in the dirt. If you find a small leak at home, fix it there. Never assume a small problem will stay small once you start bouncing over rocks.
FAQ
What is the single most important tool to carry? If I had to pick just one, it would be a high-quality set of locking pliers (Vise-Grips). While they aren’t the “correct” tool for most jobs, they are the most versatile. They can act as a wrench for rounded bolts, a clamp to hold a broken bracket together, or even a temporary handle for a snapped lever. In a survival situation, versatility beats specialization every time. However, you should never use them as a primary tool if the correct wrench is available, as they can damage hardware.
How do I keep my tools from rusting in a damp vehicle? Condensation is a major issue in overlanding rigs, especially if you store tools in an exterior box or under a seat. The best budget solution is to wipe your tools down with a rag soaked in a little bit of engine oil or a dedicated corrosion inhibitor like WD-40 Specialist Long-Term Corrosion Inhibitor. Additionally, throw a few silica gel packets into your tool bag or case. These will absorb any moisture that gets trapped inside, keeping your sockets shiny and rust-free for years.
Is it worth carrying a manual for my specific vehicle? Absolutely. While you might not have cell service to watch a YouTube tutorial, a physical or downloaded PDF of your vehicle’s factory service manual is invaluable. It provides torque specs, wiring diagrams, and step-by-step removal instructions that can prevent you from breaking plastic clips or over-tightening bolts. Most enthusiasts can find these manuals on vehicle-specific forums. Having the exact diagram for your fuse box can save you an hour of testing every single fuse with a multimeter.
Conclusion
Vehicle maintenance on the trail is an essential skill that separates the tourists from the true overlanders. By investing in a quality tool set, carrying the right spares, and understanding how to address common failures like tire punctures and dead batteries, you gain the confidence to explore further. You don’t need to be a master mechanic to survive the trail; you just need the right gear and a calm, methodical approach to problem-solving. Start building your kit today, one piece at a time, and always test your gear before you need it.
Join our community by bookmarking this site for more budget-friendly overlanding tips and gear reviews.