Best budget lockers and limited-slip diffs for trail vehicles under $800
This post contains affiliate links. As an Amazon Associate, I earn from qualifying purchases at no extra cost to you.
Why Your Rear Differential Matters More Than You Think
You’re parked on a rocky slope, one wheel spinning in air over a drop-off, the other wheel planted on solid ground. Your factory differential is doing exactly what it was engineered to do: split power 50/50 between both wheels. Which means right now, all your power is going to the wheel that’s already in the air - the one doing absolutely nothing for you. You’re stuck.
This is where a locker or limited-slip differential (LSD) changes everything. Instead of leaving you spinning helplessly, a locking differential locks both wheels together and forces power to the wheel with traction. A limited-slip splits the difference - you get more power to the gripping wheel without the harsh on-pavement handling of a full locker. For trail recovery and serious off-road driving, your choice here directly affects whether you climb out or call for a tow truck.
The good news: you don’t need to spend $2,000 on a fancy electronic system. Grab a solid mechanical locker or LSD under $800, understand the installation and performance tradeoffs, and you’ll gain real recovery capability that makes every trip safer and more fun.
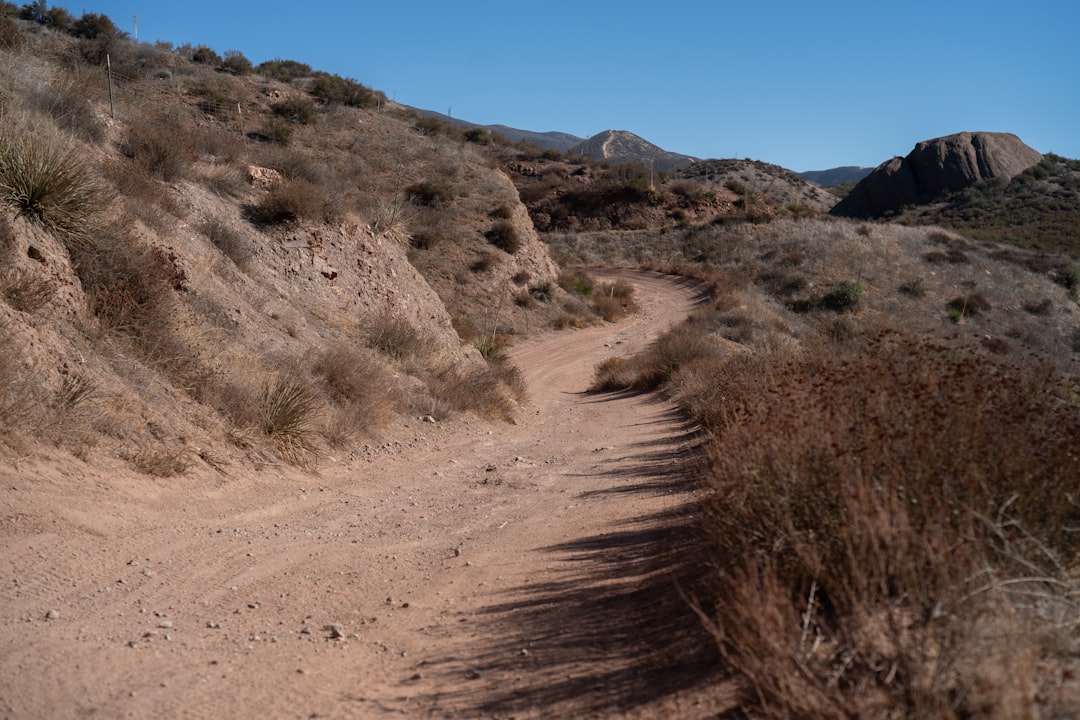
Photo by Oxana Melis on Unsplash
Understanding Locker Types: Full, Limited-Slip, and Selectable
Before you pick up a differential kit, you need to know what you’re actually getting. Each type locks - or doesn’t - in different ways. For a technical deep-dive on how locking differentials work, this differential design overview covers the engineering behind engagement mechanisms.
Full Mechanical Lockers force both wheels to turn at the same speed whenever they’re engaged. This is pure traction. When both wheels have grip, a full locker feels like you’re driving on rails. When you’re turning on pavement with one wheel in the air (inside tire), the locker will bark and bind. That’s the tradeoff: maximum traction off-road, harsh handling on-road if you’re not careful.
The PowerTrax No-Slip Differential Locker for Toyota 9.5” is a solid entry point here. At around $300–400, it gives you full locking in the rear with minimal installation complexity. It’s factory-bolt-in on many Toyota trucks, and it works without electronics or air lines.
Limited-Slip Differentials use friction or clutches to transfer power to the wheel with traction while still allowing some wheel speed difference. You get 50–70% of full-locker traction without the pavement harshness. This matters if you drive your trail rig to the trail (and back to town). The SCITOO Limited-Slip Locker for Ford 8.8” 28-spline sits in the $250–400 range and gives Ford owners a proven friction-based setup that doesn’t bite on-road.
Electronic Lockers (Elockers) use electric solenoids to lock the differential on demand. You drive normally on pavement, flip a switch on the trail, and lock both wheels together instantly. This is the “have your cake and eat it too” option, but it costs more and adds complexity. The Elocker Electric Locker for Chrysler 8.25” runs $600–800 installed, but you get full locking without the pavement handling penalty.
Choosing Your Setup: Cost, Installation, Selection, and Real-World Performance
Cost vs. Performance: What You Actually Get Under $800
This is where budget overlanding gets real. You can’t compare a $350 locker to a $2,500 ARB unit and expect the same longevity or smoothness. But you can get legitimate trail recovery capability for half the cost, and here’s what that means in practice.
A mechanical locker under $500 locks hard and loud. You’ll hear it engage, you’ll feel it work, and you’ll smile every time you power up a rocky pitch that would’ve stopped you flat a month ago. The durability question is simple: how many trail miles before it fails? For budget units, expect 50,000–100,000 serious miles before you might hear noise or feel slop in the engagement. That’s two to four years of heavy weekend use, easily.
Limited-slip units in the $250–400 range give you a softer, quieter ride with maybe 60% of the traction benefit. The friction pads wear over time, so you’re looking at potential maintenance every 75,000–150,000 miles. Some people refresh them at 100,000 miles as preventive maintenance; others run them until they slip under load.
Electronic lockers stretch your budget but eliminate the on-pavement penalty entirely. Pick up an elocker system for $600–800 and you’re paying for the solenoid, wiring harness, and switch. The actual differential carrier inside is often the same quality as a mechanical locker. Your durability math is identical—50,000–100,000 hard miles before potential wear - but you’ve got the benefit of selecting when the locker engages.
The real answer: budget well enough to get a product with documented real-world use on your specific vehicle platform. A Yukon locker on a Toyota 8” axle with 5,000 forum posts backing it is worth the $350–400 price. A no-name brand with one eBay listing is not.
Installation Complexity: DIY vs. Shop
This affects your true cost more than the product price itself.
Mechanical lockers require dropping the axle housing, removing the factory differential, installing the new carrier, and rebuilding the axle. On a vehicle with 4WD and rear axle access, this is a weekend job if you’ve done it before—8–12 hours if you haven’t. If you’re paying a shop, add $600–1,200 in labor.
Toyota 9.5” rears and Ford 9” rears are the most straightforward installs because parts are cheap and documented everywhere. If you’ve got the tools (impact wrench, torque wrench, jack, jack stands) and access to a flat workspace, you can reasonably do this yourself. Worst case, you’re buying or renting specialty tools for $50–150.
Limited-slip units use the same installation process. The difference is in the carrier internals, not the labor. Expect the same timeline and cost.
Electronic lockers add wiring harness routing and solenoid testing. It’s still an axle-out job, but now you’ve got another 1–2 hours of wiring and electrical troubleshooting. If you’re not comfortable with a wiring diagram, this is where you hand it to a shop and pay for expertise.
The budget play: if you’ve got a common platform (Toyota, Ford, Jeep), grab the locker, rent some lift space from a local shop if you don’t have a garage, and do it yourself. If your vehicle is less common or you’re uncomfortable with the process, budget $800–1,500 for the full install.
Real-World Scenarios: When You’ll Actually Need Traction
A locker doesn’t matter if you never use it. Let’s walk through where it makes a real difference.
Rocky creek crossings with sloped banks: Without a locker, one wheel finds a boulder mid-climb, slips, and leaves you broadside or sliding back. With a locker, both wheels grip, and you haul yourself up. This is the $400 locker earning its cost in one trip.
Sand dune climbing in the Southwest: Sand is forgiving, but depth varies. A locker locks you to solid ground underneath and stops you from digging a deeper hole. You’ll climb dunes that would stop you without one.
Steep rocky mountain switchbacks where one wheel is on dirt and one is on rock: Full traction. Your outside rear wheel (the one with the best grip) gets 100% of the power instead of 50%.
Recovery traction when another vehicle is towing you: If you’re being winched out, a locker ensures you’re not fighting a slipping wheel. The other rig can pull you more efficiently, and you take less damage.
Mud and deep ruts where standard all-terrain tires slip: A locker plus good tires (and maybe air-down) will get you through sections that would strand you otherwise.
The scenarios where a locker doesn’t help much: highway driving, parking lot recovery, light forest-road use where you rarely need maximum traction. If you’re predominantly driving pavement to an occasional trail, a limited-slip is probably your sweet spot.
How to Choose the Right Locker for Your Rig: Step-by-Step
Choosing between these three options isn’t complicated if you answer these five questions in order.
-
Know your axle. Start with your vehicle’s rear axle code. Ford has the 8.8” and 9”; Toyota has the 8” and 9.5”; Jeep has the 8.8” and 9.25”; Dodge/Chrysler has the 8.25” and 9.25”. Your locker choice is locked to your axle type - you cannot interchange them. Check your door jamb sticker, the manufacturer’s website, or a forum dedicated to your vehicle.
-
Check platform documentation. Once you know your axle, search “{your vehicle} {axle} locker recommendations” on IH8MUD.com or a forum specific to your rig. You’ll find hundreds of posts with real installs, durability reports, and price history. This is where you disqualify options that don’t fit your platform.
-
Decide on engagement style. Do you want manual control (elocker switch) or always-locked on-trail (mechanical/limited-slip)? Manual control adds flexibility; always-locked simplicity and cost. Write down your top two options.
-
Calculate installed cost. Grab the locker price, add shop labor if you’re not DIYing ($600–1,200 for full install), add a fluid change ($60–100), and add any specialty tools if needed ($50–150). Your real cost is locker + labor + fluid. If it’s pushing $1,200 total, consider whether you’re choosing the right locker or whether a less expensive option makes more sense.
-
Buy from a vendor with real history on your platform. Search “{locker name} {your axle}” and look at the result dates. Posts from 2022+ with owners reporting thousands of miles are your signal to buy. A locker from a vendor with 10,000+ installations on your exact axle is worth a premium over an unlisted competitor. You’re paying for reliability and documentation, not just parts.
Durability and Maintenance
Mechanical locker durability depends on engagement force and how hard you use it. A locker with aggressive springs engages harder - more positive feel, but also more stress on the teeth and splines. A locker with softer springs is gentler on components but might slip under heavy load.
Most budget mechanical lockers last 50,000–100,000 miles of regular use before you hear the first signs of wear: slight hesitation in engagement, or a clunk that’s a bit slower to respond. This doesn’t mean it’s broken. It means the engagement mechanism has wear. Some people refresh the locker at 80,000 miles with new packs and springs ($100–200) to keep it factory-smooth. Others run them until they fail completely, usually 150,000+ miles in.
Limited-slip durability is all about friction. The clutch packs or friction discs wear with every partial engagement. You’ll notice the first signs around 80,000–120,000 miles: the diff feels slightly less grabby under hard acceleration, or it’s a touch quicker to slip on pavement. Maintenance involves draining the fluid, inspecting the friction surfaces for wear, and potentially replacing wear items ($200–400 shop labor plus parts).
Electronic locker durability splits into electrical and mechanical. The solenoid can fail (usually replacement is $100–300), but the carrier itself lasts as long as a mechanical locker. Wiring failures are rare if the harness is routed correctly and protected from moisture.
The real durability hack: change your differential fluid every 40,000–50,000 miles. Budget locker carriers run hotter than factory units and benefit from fresh fluid. Spend $60–100 on a fluid change and you’ll likely add 20,000–30,000 trouble-free miles to the locker’s lifespan.
Comparison Table: Full Locker vs. Limited-Slip vs. Elocker
| Aspect | Full Locker | Limited-Slip | Elocker |
|---|---|---|---|
| Traction on-trail | 100% (both wheels locked) | 60–70% (biased, not locked) | 100% (when engaged) |
| On-pavement handling | Harsh, binding turns | Smooth, standard feel | Smooth (unless engaged) |
| Budget range | $250–500 | $250–400 | $600–800 |
| Installation time | 8–12 hours DIY | 8–12 hours DIY | 10–14 hours DIY |
| Maintenance complexity | Low (refresh packs at 80k) | Medium (inspect friction at 100k) | Low-medium (electrical + mechanical) |
| Durability (miles to wear) | 50k–150k+ | 80k–150k+ | 50k–150k+ carrier; solenoid 10+ years |
| Noise level | Loud engagement | Quiet | Quiet until engaged |
| Best for | Full-time trail rigs | Part-time trail + street driving | Versatile on/off road use |
Common Mistakes and Best Practices
Buying based on price alone. The cheapest locker for your axle might be cheap because it’s made from softer steel or has lower engagement force. You’ll spend 30% less, then wear it out 30% faster. A $50–100 premium for a proven brand often saves you $500 in future replacement or repair costs.
Installing without replacing differential fluid. The factory fluid is formulated for the factory differential. A locker carrier runs hotter and generates different shear forces. Install the locker, then immediately drain and fill with synthetic differential fluid rated for your locker type. Skip this, and you’re shortening your locker’s life by 20,000–30,000 miles.
Choosing full locker for a 90% street vehicle. If you’re driving to work 90% of the time and trails 10%, a limited-slip or elocker will make your rig feel normal on pavement. A full locker will feel like you’ve got a broken axle on every left turn until you reach the trailhead. Honest assessment of how you drive saves you on-road frustration and wear.
Not torquing down the carrier bolts properly. This is a shop-install issue mostly, but if you’re DIYing: get a torque wrench, follow the spec sheet exactly, and torque in a star pattern. Uneven torque breaks carriers. Re-check torque at 500 miles if you do the install yourself.
Forgetting to address brake bias. If you’re installing a full locker and running a brake line to each rear wheel, confirm your truck’s brake distribution is balanced for the new traction curve. Some vehicles need a proportioning valve adjustment. Consult your vehicle’s manual or a brake tech.
Frequently Asked Questions
Q: Will a locker hurt my fuel economy? A: Barely. A locker adds maybe 5–10 pounds and creates slightly more rolling resistance due to engagement friction when not locked. On highway driving, expect a 0.5–1.5 mpg drop. On-trail, it doesn’t matter because you’re throttle-position limited anyway.
Q: Can I install a locker in my front differential too? A: Technically yes, practically maybe not. Front lockers help in extreme rocky terrain but make steering harder and increase drivetrain stress. Most budget-conscious overlanders lock the rear only. If you’re running both, expect $1,200–1,600 total installed. Rear-only is the sweet spot for 80% of trail rigs.
Q: What’s the difference between a spool and a locker? A: A spool is permanently locked - both wheels always turn together. A locker unlocks when you’re turning on pavement (below a certain speed or above a certain slip threshold). A spool is cheaper ($100–200) but impossible to drive on pavement. Never buy a spool unless you’re building a dedicated trail-only buggy.
Q: Do I need to air down my tires differently with a locker? A: No. A locker helps you grip better at lower pressures, so if anything, you can run slightly more pressure and still get good traction. The advantage comes from having both wheels pulling instead of one slipping.
Q: How often should I service the locker? A: Fluid change every 40,000–50,000 miles is the baseline. At 80,000 miles, inspect the engagement packs/clutch discs for wear. If you notice slipping or hesitation, that’s your signal to refresh the internals ($150–400 in parts, 4–6 hours labor).
Q: Will a cheap locker fail off-road and strand me? A: Failure usually manifests as slipping (less traction) rather than complete loss of function. You’ll notice the locker not engaging fully, lose some grip, but still have power at both wheels. You won’t go from locked to completely open instantly. You’ll have warning.
Conclusion: The Path Forward
A budget locker or LSD under $800 is a legitimate multiplier for your trail capability. It’s not a substitute for good tires, recovery gear, or driver skill - it’s a force multiplier that makes all three more effective.
If you’ve got a common platform and basic mechanical confidence, grab a proven locker for your axle, set aside a weekend, and install it yourself. You’ll save $600–1,000 in labor and understand your rig better when you’re done.
If you’re paying for a shop install, budget $1,200–1,500 total, confirm the shop has experience with your specific vehicle and axle, and don’t skip the fluid change and 500-mile re-torque check.
The real decision isn’t locker vs. no locker - it’s mechanical vs. limited-slip vs. electronic, and that choice comes down to how you drive. Full-time trail rig? Mechanical locker. Part-time overlander driving to work? Limited-slip. Serious weekend warrior who wants pavement manners? Elocker.
Start with your axle type, verify platform documentation, and buy from a vendor with real history on your rig. The extra $50–100 for a proven brand saves you headaches and money down the road.
Your next move: Identify your axle code, search one forum post about lockers for your platform, and bookmark the vendor with the most relevant user reviews. You’ll know within 10 minutes whether this is a DIY install or a shop job - and whether a locker is right for you at all.