Overlanding with Dogs: Gear, Safety, and Vehicle Setup
Bringing a dog along for a multi-day trek into the backcountry is the ultimate goal for many off-roaders. There is a specific kind of satisfaction that comes from seeing your dog jump out of the rig at a remote campsite, miles from the nearest paved road. However, the reality of budget overlanding with a dog is often less like a glossy magazine spread and more like a cabin full of flying fur, muddy paw prints on your sleeping bag, and the constant logistical challenge of keeping a living creature safe in a vibrating metal box. If you do not plan your vehicle layout and gear selection with the same rigor you use for your recovery gear or suspension, you are inviting chaos into your cabin. A dog that is sliding around on a vinyl seat or panting in a hot cargo area is a dog that is not having a good time, and a stressed dog makes for a stressed driver.
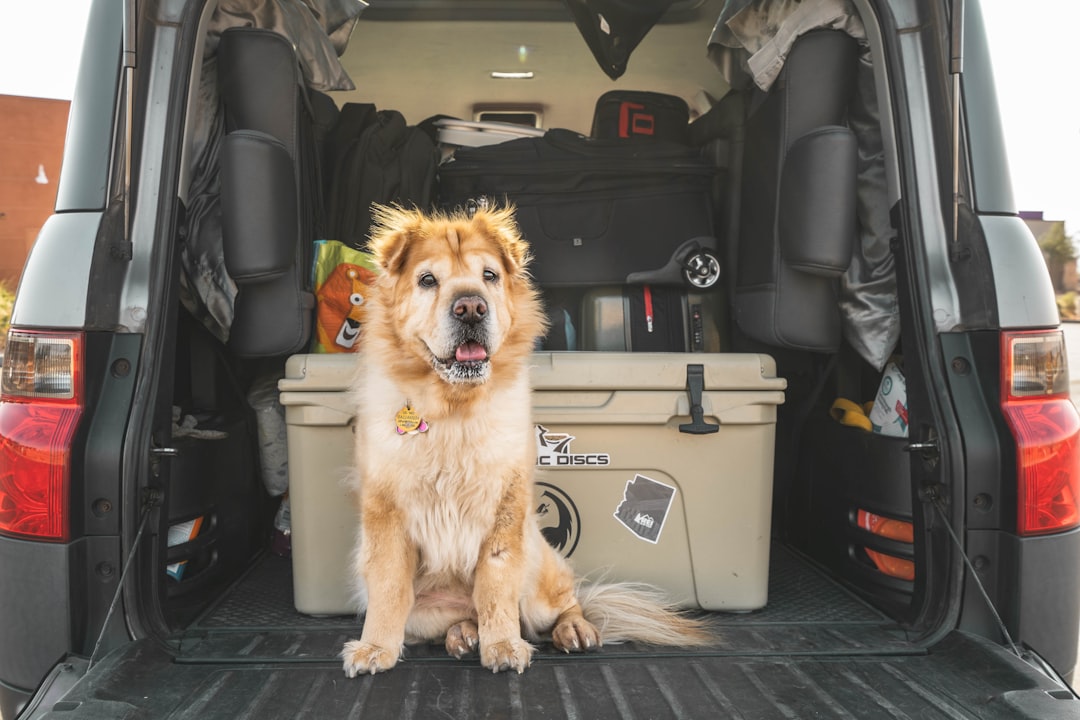
Photo by Tomas Nozina on Unsplash
Rear Seat Protection and Stabilization
The back seat of your 4Runner, Xterra, or Jeep is the most common place for a trail dog to live during a trip. The problem is that stock upholstery is not designed for claws, mud, and the lateral G-forces of off-roading. If your dog is constantly struggling to find a grip on a slippery leather or cloth seat, they will tire out quickly and may even develop joint soreness before you even reach camp. For a budget-friendly solution under $40, I recommend the URPOWER Dog Car Seat Cover. This is not just about keeping hair off the seats. The hammock style design of this cover creates a physical barrier that prevents your dog from falling into the rear footwells during a sudden descent or hard braking event.
When you are budget overlanding, you have to look for gear that serves multiple purposes. A heavy duty seat cover acts as a secondary floor for the dog, providing a consistent texture that gives them confidence when the rig is tilting on a side slope. It also protects your resale value by preventing the permanent “wet dog” smell from soaking into the seat foam. If you are running a tight budget, you might be tempted to just throw an old moving blanket back there. Do not do this. Moving blankets slide, bunch up, and offer zero protection for the door panels. A dedicated cover with anchors and a non-slip backing is a mandatory piece of kit.
Beyond just the cover, you need to think about the “gap” between the front seats. If your dog has a habit of trying to climb into the front or sticking their head right next to your shifter, they are a safety hazard. On technical trails, you need clear access to your gear selector, handbrake, and lockers. A dog bumping your arm during a technical crawl can lead to a bad line or a stalled engine. The hammock cover helps, but you should also consider how the dog’s weight is distributed. If you have a large breed, the weight shifting in the back seat can actually affect how the vehicle handles on loose off-camber sections. Keep their heavy gear (like water jugs) on the floorboards to keep the center of gravity low.
Cargo Barriers and Impact Safety
One of the most overlooked aspects of overlanding with dogs is what happens during a recovery or, heaven forbid, a rollover. In a stock vehicle, a 70 pound dog becomes a projectile in an accident. Even on a bumpy trail, a dog in the cargo area can be tossed against the glass or onto your sharp recovery gear. This is why a physical barrier is non-negotiable for any rig that sees dirt. While high-end steel barriers can cost $400 or more, you can get the same level of safety for around $50 with the Gtongoko Dog Car Barrier for SUVs. This is a universal-fit, tension-mounted steel mesh that separates the cargo area from the passenger cabin.
When installing a barrier in a budget overland build, you need to ensure it is mounted to the structural pillars of the vehicle, not just pushed against the headliner. A barrier that falls over the first time you hit a washboard road is worse than no barrier at all because it becomes another piece of flying debris. The goal is to create a “safe zone” for the dog where they are separated from your heavy gear. If you store your hi-lift jack, CO2 tanks, or toolboxes in the cargo area, they must be strapped down with ratcheting tie-downs. The barrier is there to keep the dog in their place, but it is your job to make sure the gear doesn’t fly into the dog’s space.
Safety Warning: Never secure a dog to a hard point in the vehicle using a standard neck collar. In the event of a sudden stop or a drop off a ledge, a neck-tethered dog can suffer a broken neck or strangulation. Always use a crash-tested harness if you are tethering your dog to a seatbelt or a floor anchor. Additionally, ensure that your cargo barrier does not obstruct your rear-view mirror’s line of sight to the point of being dangerous. You need to see your spotter and the trail behind you at all times.
Hydration Systems and Dust Management
Dust is the enemy of every overlander, but it is especially hard on dogs. When you are airing down and hitting dry forest roads, the “dust plume” at the back of the vehicle often gets sucked into the cabin through the rear vents or open windows. This dust settles on everything, including your dog’s water. Using a standard open bowl in the back of a moving rig is a recipe for a muddy mess and a dehydrated pet. For a compact and budget-friendly hydration solution, I use the Collapsible Dog Travel Bowls 2-Pack. These cost under $15 and can be clipped to the outside of your seat-back organizers or MOLLE panels.
The trick to overlanding hydration is frequency, not volume. You should not wait until you reach camp to give your dog a drink. Every time you stop to check your tire pressures or scout a line, offer water. Because these bowls are collapsible, they do not take up valuable drawer space or rattle like metal bowls. Rattling is a minor detail that becomes a major annoyance over eight hours on a trail. Silicone bowls are silent, durable, and easy to clean with a quick spray of water.
You also need to consider your water storage. On a budget build, you probably aren’t running a built-in 20 gallon tank with an electric pump. Most of us are using 5 gallon Jerry cans or RotopaX. I recommend dedicating one specific water container for the dog. This allows you to track exactly how much they are drinking. On high-altitude trails, dogs need significantly more water than they do at home. If you are using a DIY Overland Sleeping Platform Build Guide to organize your rig, make sure the dog’s water is accessible without having to unpack your entire kitchen slide or rear cargo area. If it is hard to get to, you will subconsciously offer it less often.
Climate Control and Heat Safety
Temperature management is the most critical safety factor when overlanding with a dog. Off-road vehicles, especially older budget rigs with less insulation, can turn into ovens in minutes. Even if the ambient temperature is only 70 degrees, direct sunlight on a dark-colored SUV can spike interior temperatures to dangerous levels. You must have a plan for airflow that does not involve leaving your windows wide open for a dog to jump out or for dust to bury your interior.
Safety Warning: Never leave a dog unattended in a vehicle in the backcountry. If you must step away from the rig, ensure the vehicle is in the shade, the windows are cracked with security inserts, and you are gone for less than five minutes. Heat exhaustion in dogs can happen rapidly, and in remote areas, you are hours away from a veterinarian. Signs of heatstroke include excessive panting, dark red gums, and lethargy. If these occur, you must immediately move the dog to a cool area and apply cool (not ice cold) water to their belly and paws.
For budget-conscious cooling, skip the expensive 12V portable air conditioners that cost $800. Instead, focus on passive cooling. Reflective window shades cut to the shape of your rear glass are a $20 DIY project that can drop interior temps by 10 to 15 degrees. Battery-powered fans that clip onto the headrest or the cargo barrier are also highly effective. These fans move the air directly over the dog’s coat, which is essential because dogs do not sweat like humans. They rely on panting and convection to cool down. If the air in the back of your SUV is stagnant, they cannot regulate their body temperature. According to the American Veterinary Medical Association (AVMA), environmental awareness is the first line of defense against weather-related injuries. While that resource focuses on cold, the same principles of preparation apply to the heat of a desert trail.
How to Build a Dog-Friendly Rear Platform
If you have removed your rear seats to make room for gear, you have created a flat but hard surface that is usually too slippery for a dog. A dedicated dog platform provides a level spot for them to rest while keeping your gear organized underneath. This is a classic budget overlander project that can be finished in a weekend for under $100.
- Measure the footprint: Measure the width between your wheel wells and the distance from the back of the front seats to the rear hatch. If you are keeping one rear seat up, measure only the remaining open area.
- Cut the base: Use 3/4 inch ACX plywood. Do not use MDF or particle board; they will swell and fall apart the first time your dog jumps in with wet paws.
- Add support legs: Use 2x4 lumber to create a frame that sits roughly 6 to 10 inches high. This height allows you to slide slim storage bins (for recovery gear and tools) underneath the dog’s sleeping area.
- Upholster for grip: This is the most important step. Wrap the plywood in cheap indoor/outdoor carpet or a rubberized coin-mat material. Secure it with heavy duty staples on the underside. This gives the dog’s claws something to bite into during off-camber driving.
- Anchor the platform: Use the factory seat bolt holes or cargo tie-down points to bolt the platform to the vehicle floor. A platform that is not bolted down will become a lethal weight in a collision.
- Add the bedding: Place a durable dog bed on top. Secure the bed to the platform using a couple of small bungee cords so it doesn’t slide around as you navigate switchbacks.
This setup maximizes your storage while giving the dog a “den” that feels secure. When the dog has a dedicated, raised spot, they are less likely to try and pace around the cabin, which keeps the driver focused on the trail.
Troubleshooting Common Trail Dog Issues
Even with the best gear, things can go wrong. One of the most common issues on the trail is paw injuries. Budget overlanders often forget that the terrain we drive over is incredibly harsh on a dog’s pads. Sharp volcanic rock, hot sand, or even pine needles can cause cuts or burns. If your dog starts limping, your trip is effectively over. You should always carry a dedicated medical kit for your dog. For a deep dive on what to pack, check out our guide on the Overland First Aid Kit: What to Carry and Why. Specifically for dogs, you need self-adhering bandages (Vetrap) that won’t stick to fur and a pair of dog boots for emergency walking on sharp terrain.
Another frequent problem is “trail fatigue.” We often forget that while we are sitting in a comfortable seat, the dog is constantly using their core muscles to stabilize themselves against the movement of the vehicle. If you are doing an eight hour day on a rocky trail, your dog is getting a massive workout. Watch for signs of “cabin fever” such as whining or restlessness. The solution is simple: more frequent stops. On a budget trip, you aren’t in a race. Stop every 90 minutes, let the dog sniff around (on a leash), and let their muscles relax.
Finally, consider the “wildlife factor.” A dog that is perfectly behaved at home might lose its mind when it sees a marmot or a deer at 9,000 feet. If your dog is not 100 percent reliable on a recall, they must stay on a leash at all times. A dog chasing wildlife into a canyon is a nightmare scenario that often ends in a search and rescue operation. Use a long tie-out cable attached to your vehicle’s recovery point when you are at camp. This keeps them safe while still giving them room to move around the “kitchen” area of your rig.
FAQ
How do I keep my dog from getting motion sickness on rough trails? Motion sickness is common when off-roading because the horizon is constantly shifting and the vehicle is tilting. To minimize this, ensure your dog can see out of the window. Looking at the horizon helps their inner ear calibrate. Also, avoid feeding a large meal right before hitting a technical trail. Feed them a small portion in the morning and save the bulk of their calories for when you reach camp. If the problem persists, talk to your vet about over-the-counter options like Meclizine, but always test these at home first to see how your dog reacts.
Can I use a roof top tent with a large dog? You can, but it is a logistical challenge for a budget overlander. Unless you want to carry an 80 pound dog up a vertical ladder, you need a ramp or a tent with a specialized annex. For most budget builds, we recommend a ground tent or a DIY Overland Sleeping Platform Build Guide inside the vehicle. If you are dead set on a RTT, look for models with a sturdy ladder and consider a “lifting harness” for your dog, which has a handle on the back so you can safely assist them up the ladder.
What is the best way to clean a rig after a muddy dog trip? The best way is to prevent the mess in the first place. Using a high quality seat cover like the URPOWER Dog Car Seat Cover catches 90 percent of the debris. For the remaining 10 percent, wait for the mud to dry completely before trying to clean it. Wet mud just smears into the carpet fibers. Once dry, use a stiff brush to loosen the dirt and a high powered shop vac to pull it out. For dog hair, a rubber squeegee or a dedicated pet hair brush works much better than a vacuum alone on automotive carpeting.
Conclusion
Overlanding with your dog is one of the most rewarding ways to experience the outdoors, but it requires a shift in how you think about your vehicle’s interior. You do not need to spend thousands of dollars on custom cabinetry or specialized pet trailers. By focusing on a few key areas - impact safety, interior protection, and hydration management - you can build a trail-ready rig that keeps your best friend comfortable and safe. Start with a solid cargo barrier and a heavy duty seat cover, and build out your system from there based on your dog’s specific needs. The goal is to make the vehicle a safe, stable environment so that when you finally reach that remote ridge line, both you and your dog are ready to explore.
Bookmark this guide for your next build and let us know your favorite budget dog gear in the comments.